Fixing Vintage Sewing Machine Zigzag Issues
Fixing Vintage Sewing Machine Zigzag Issues
Have you ever found an old sewing machine at a garage sale or unpacked Grandma’s trusty Singer from the attic? It looks sturdy, but the first time you try a zigzag stitch… nothing happens. You’re staring at a vintage sewing machine zigzag issue, and your project grinds to a halt. Don’t worry—this simple guide will help you get that zigzag working again.
Understanding the Zigzag Mechanism
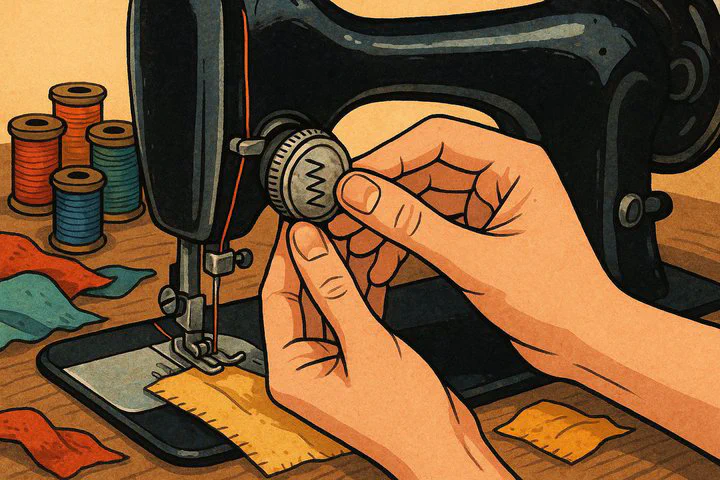
The zigzag feature makes your needle swing left and right, letting you sew stretchy seams and fun designs. Inside, a small gear (called a cam) pushes a lever, and springs move everything back. When these parts glide together, stitches look neat.
Trouble starts when dirt, dried oil, or rust slow things down. Maybe the machine sat in a closet for years. You go to sew and discover the zigzag mechanism was completely stuck. A weak spring or loose screw can add to the problem.
The good news? These old machines are tough. With cleaning, oil, and patience, you can bring them back to life.
Troubleshooting a Stuck Zigzag
- Unplug the machine and place it on a sturdy table.
- Remove the top and front covers so you can see the moving parts.
- Shine a flashlight on the cam and lever. If the zigzag mechanism was completely stuck, look for lint, dried grease, or tiny thread nests.
- Use a cotton swab dipped in rubbing alcohol to wipe away grime.
- Add one small drop of sewing-machine oil to each joint.
- Turn the handwheel back and forth, slowly at first. After a few minutes, many crafters report the zigzag is now moving OK.
Still battling the vintage sewing machine zigzag issue? Slide the stitch-width lever from 0 to the widest mark several times. This spreads fresh oil into tight spots. If the lever feels stiff, add another drop of oil right where it pivots. Tighten loose screws, but don’t over-crank them. Then sew on scrap fabric to test your work.
Accessing the Flywheel and Clutch
Sometimes the problem hides near the handwheel. A sticky clutch can lock the needle bar.
Many readers say they were not able to remove the cover of the flywheel. Try this:
- Find the small set screw on the wheel’s rim.
- Loosen it a quarter-turn with a short screwdriver.
- Gently rock the wheel while pulling it toward you. If it sticks, place one drop of oil on the shaft and wait ten minutes.
With the wheel off, you’ll see a round knob—that’s the clutch. Turn it counter-clockwise, wipe off old grease, and add fresh oil. Spin the wheel by hand; it should glide smoothly. As one user cheered, “I cleaned the clutch, so now I could probably wind the bobbin!”
A smooth clutch often clears the vintage sewing machine zigzag issue because the needle bar can now move freely. Reassemble the wheel and test again. If all went well, the zigzag is now moving OK.
Quick Recap
• Clean out lint, dried oil, and rust.
• Oil every moving joint with one tiny drop.
• Work the handwheel and stitch-width lever to loosen stuck parts.
• Remove the flywheel if needed and freshen the clutch.
• Test on scrap fabric until your zigzag looks even and neat.
With these easy steps, your vintage sewing machine zigzag issue should be history, and your classic machine will be ready for many more projects.
Have a tip or question about your own vintage machine? Share it in the comments below—your story could help another crafter keep their beloved sewing buddy running strong!