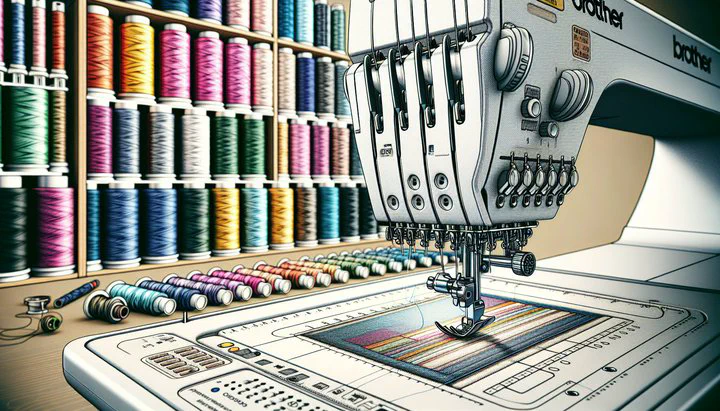
Solving Upper Thread Cutting Issues on Brother SE2000

Understanding Upper Thread Problems: Why Does My Thread Keep Breaking?
Are you having trouble with your Brother SE2000 embroidery machine? You’re not alone! Many crafters face upper thread cutting issues that can really disrupt their projects. Solving these issues is important because it helps you keep your crafting smooth and enjoyable. Let’s explore these common problems so you can recognize them and learn how they affect your crafting.
Have you ever noticed that the upper thread does not come loose from the fabric? This can be frustrating because it stops your machine and ruins the look of your project. You might see the thread getting stuck, leading to uneven stitches. This often happens because of improper threading or tension settings.
Another problem is when you snap the upper thread and require rethreading. This can occur if the thread is too tight or there’s something snagging the thread path. These frequent interruptions can really slow you down and waste both thread and time.
These frequent upper thread issues aren’t just annoying—they can lead to bigger problems with your embroidery machine. If you don’t fix them, they can wear down the machine and mess up your work. Understanding these issues is the first step to improving your embroidery experience.
By spotting these upper thread problems, you can start fixing them. In the next section, we’ll give you practical tips to help minimize these issues and make your crafting sessions more fun. Stay with us to learn how to fix these problems and get back to creating beautiful designs with your Brother SE2000 embroidery machine.
Troubleshooting Tips for Upper Thread Issues
Ready to tackle those upper thread cutting issues on your Brother SE2000 embroidery machine? With the right tips and tricks, you can get back to enjoying your embroidery projects without the frustration. Let’s dive into some practical steps to help you solve these pesky problems.
First, let’s start by rethreading the upper thread correctly. Begin by turning off your machine to ensure safety, then gently remove the current thread. Make sure to follow the threading path indicated on your machine, as missing a step can cause the upper thread does not come loose from the fabric issue. Ensure the thread is passing smoothly through each guide and the needle.
Next, let’s explore thread tension adjustments. One key to solving upper thread problems is finding the right tension setting. The Brother SE2000 allows you to adjust the tension between 2.0 and 5.0. It’s been tested upper thread tension from 2.0 to 5.0 that works best for different fabrics and designs. Start by setting your tension to the middle, around 3.5, and then test it on a scrap piece of fabric. If the thread is still snapping, slightly loosen the tension.
Another tip is to regularly check your machine’s components, such as the needle, bobbin, and thread spool. A bent needle or improper bobbin placement can cause the upper thread to snap and require rethreading. Make sure the needle is the right size for your fabric and is installed correctly. Also, verify that the bobbin is wound evenly and placed securely in the bobbin case.
By following these troubleshooting steps, you can reduce frequent upper thread issues and enjoy a smoother embroidery experience. Remember, a little patience and attention to detail can make all the difference. In the next section, we’ll share tips on preventing these problems from occurring again, so you can keep creating with confidence.
Preventing Future Thread Snapping
Now that you’ve learned how to tackle upper thread cutting issues on your Brother SE2000 embroidery machine, let’s focus on preventing these problems in the future. With a few simple maintenance tips and some creativity, you’ll be stitching with confidence in no time.
Regular maintenance is key to keeping your embroidery machine in top shape. Start by cleaning your machine frequently. Dust and lint can build up over time and cause the upper thread to snap and require rethreading. Use a small brush or a can of compressed air to gently remove any debris from around the needle and bobbin area. This will help your machine run smoothly and reduce the chance of thread issues.
Another important step is to perform regular checks and adjustments on your machine. Make sure all parts are functioning correctly and that nothing is loose or worn out. Pay special attention to the needle, as a bent or dull needle can lead to frequent upper thread issues. Replace your needle regularly and choose the right type for your fabric to avoid future problems.
Understanding your machine’s settings is also crucial. Experiment with different tension settings to find the sweet spot that works best for your projects. The tested upper thread tension from 2.0 to 5.0 can be a good starting point. Try stitching on a scrap piece of fabric before starting your main project to ensure everything is set correctly.
Lastly, quality materials can make a big difference. Choose high-quality threads that are compatible with your machine. Cheaper threads may break more easily and cause upper thread cutting issues. Investing in good materials will save you time and frustration in the long run.
By following these preventive measures, you’ll minimize interruptions and enjoy a smoother embroidery experience. Keep exploring new techniques and materials to enhance your crafting skills. Remember, crafting is all about trial and error, so don’t be discouraged by setbacks. With practice and care, your Brother SE2000 will be a reliable partner in all your creative endeavors. Happy stitching!