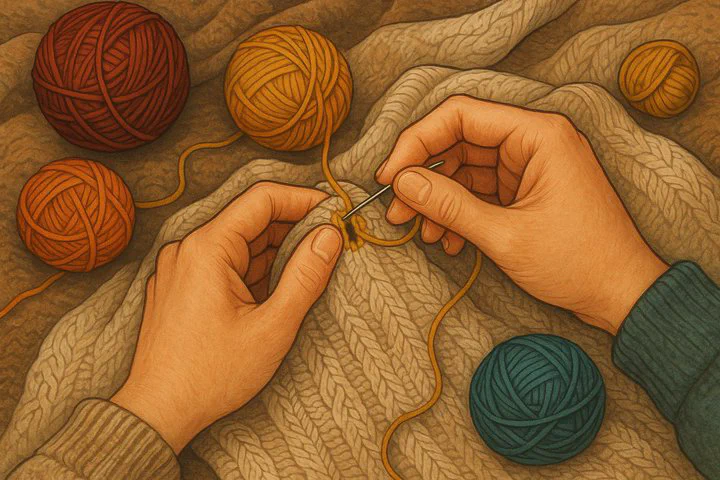
How to Repair Hand-Made Sweaters

Introduction
Hand-made sweaters are little hugs you get to wear. They carry hours of work, bright colors, and lots of love. But after many cozy days, a snag or hole can appear. Don’t worry! You can repair hand-made sweaters at the kitchen table with a few simple tools. I’m Jamie Filmore, and I once saved my favorite blue cardigan after my cat used it as a climbing wall—so I know you can do it, too. Grab your supplies, follow the steps, and let’s bring your sweater back to life.
Understanding Common Sweater Issues
Before you start to repair a piece, spread your sweater on a flat surface under good light. Look for:
• Pulled strands – little loops sticking out where something caught the yarn. If you don’t fix the pulled strands, they can grow into bigger snags.
• Tiny holes – often at elbows, underarms, or seams where yarn rubs again and again.
• Worn edges – cuffs, neckbands, and hems that look stretched or fuzzy.
Making a quick list of all the weak spots helps you stay organized when you repair these hand-made sweaters later.
Tools and Materials Needed for Sweater Repair
Gather this mini tool kit before you begin to fix these super adorable sweaters:
- Darning needle – a blunt, large needle that lets you weave yarn through old stitches.
- Matching yarn – same color, thickness, and fiber so the mend blends right in.
- Small sharp scissors – for clean cuts that stop new frays.
- Hoop or frame (optional) – holds the fabric steady while you work.
- Bright light and a flat surface – so you can see every stitch.
Keep these items in a zipper pouch. Having them ready makes any job to repair hand-made sweaters faster and stress-free.
Step-by-Step Guide to Fixing Sweater Issues
(Helpful visuals are shown in Diagram 1 and Diagram 2 below each step.)
Step 1: Fix the pulled strands
Slide the darning needle under the loop that pokes out. Gently tug the nearby stitches so the extra yarn slips back inside. If the loop is long, weave the tail through the back of a few stitches, then trim close. Quick moves like this stop bigger snags and let you proudly fix these super adorable sweaters before damage spreads.
Step 2: Close small holes
Put the area in a hoop if you have one. Thread your needle with matching yarn, leaving a six-inch tail. Starting one row below the hole, weave the needle in and out of each full stitch, crossing the gap like shoelaces. Keep your pull gentle so the fabric stays flat. When the gap is gone, tie a tiny knot on the inside and tuck it under nearby threads. This neat trick helps you repair hand-made sweaters without leaving a hard bump you can feel.
Step 3: Secure yarn ends and reshape the area
Turn the sweater inside out and weave each yarn tail through three or four stitches to lock it down. Clip off extra yarn. Lay the sweater flat, spray a light mist of water, then pat the repaired spots into shape. Let everything dry overnight. This “reshape and dry” step—sometimes called blocking—blends new stitches into the old fabric, making the fix almost invisible. With patience and these easy steps, you can repair a piece and keep wearing your cozy favorite for years.
Conclusion
Mending your own sweater is like adding a brand-new memory to an old friend. Each stitch you mend tells a story of care and skill. Now that you know how to repair hand-made sweaters, give it a try! Share photos of your success or drop any questions in the comments below. I can’t wait to see how you bring your treasured knits back to life. Happy crafting!