Musselburgh Hat Cast On Using DPNs
Musselburgh Hat Cast On Using DPNs
Introduction to the Musselburgh Hat
The Musselburgh Hat is a loved project in the knitting world. It is soft, stretchy, and flips inside-out for two looks in one. Best of all, the stitches are simple, so both new and seasoned knitters enjoy it.
Many people begin this hat with the magic loop method, but sometimes you don’t have the right size cable needle for magic loop. That is when double-pointed needles (dpns) shine. They are short, easy to hold, and perfect for the tiny rounds at the very top of the hat.
This guide walks you through the Musselburgh Hat cast on using dpns. You will learn how to place your stitches, keep them from twisting, and join them in a smooth circle. We will also share tips for getting the stitches situated on dpns without stress. Ready? Grab your yarn and needles, and let’s dive in!
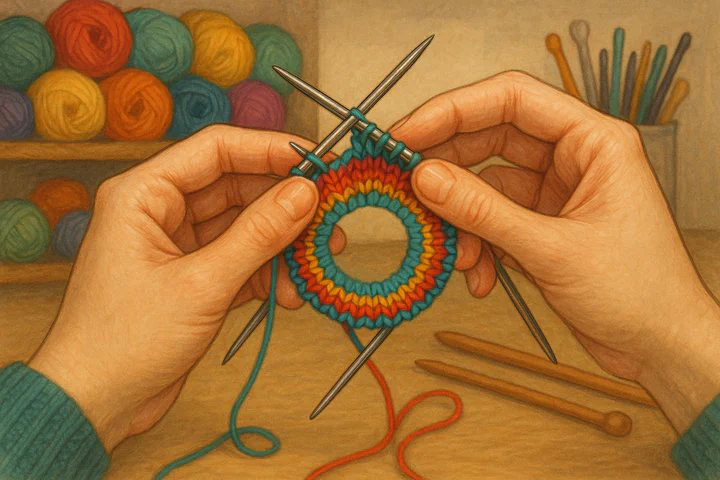
(Visual idea: A simple drawing of four needles pointing in like spokes on a wheel.)
Getting Started: Casting On with DPNs
Supplies
• Four or five dpns in the size the pattern lists
• Yarn for your hat
• A stitch marker
• Scissors and a yarn needle
- Make a slipknot and place it on one needle.
- Use a long-tail cast-on to add seven more stitches. You now have eight stitches total. (Think of this as the “pinhole” cast-on—it closes tight later when you pull the tail.)
- Time for getting the stitches situated on dpns. Slide two stitches onto each of the other needles until every needle holds an equal number. Point all tips toward the center like bike spokes.
- Place the stitch marker on the rightmost needle. This marks the start of your rounds.
Quick tip: If your loops feel extra tight, cast on with a needle one size larger, then switch to the correct size before Round 1.
Smooth Joins: Working in the Round
Here comes the fun part—joining in the round with dpns.
- Hold the needles so the working yarn hangs from the back of the right-hand needle and all bumps face inward.
- Slide the first stitch from the left needle onto the right needle.
- Lift the last cast-on stitch (your slipknot) over that first stitch and off the needle. You have locked the circle!
As you knit the first round, peek often to be sure the stitches have not twisted. A twisted circle makes a Möbius strip—great for magic tricks, not for hats.
Even tension matters. After every few rounds, tug gently on the first and last stitches on each needle to snug them up. If ladders (loose gaps) appear, slide two or three stitches to the next needle to spread them out.
Remember, dpns are handy when you don’t have the right size cable needle for magic loop. You can shift stitches around with no long cord in your way.
Alternatives When Magic Loop Isn’t an Option
Maybe you love magic loop but left the right cable at home. No problem:
• Stay with the Musselburgh Hat cast on using dpns start to finish.
• Use two short circular needles. Split the stitches so half sit on each needle and knit with the free ends.
• Switch to a 9-inch circular when the hat grows wider, then back to dpns for the last decreases.
Each method follows the same rules: steady tension, smooth joins, no twists. Pick what feels best in your hands.
Learning from Very Pink Knits
Many knitters have watched Very Pink Knits for guidance (find her Musselburgh videos on YouTube). Stacey’s close-up shots show every loop and needle tip in slow motion.
Key takeaways:
• Pull the yarn tail to close the tiny top hole—no gap left behind.
• Keep stitches relaxed so they slide easily.
• Rotate stitches from needle to needle to avoid ladders, a trick that helps when joining in the round with dpns.
If a stitch slips off, breathe. Slide it back on and keep going. Stacey reminds us that even pros drop loops sometimes.
Advanced twist: Already comfy with the basics? Try a color fade or a stripe pattern once you pass the crown. The reversible fabric makes color play extra fun.
Share Your Hat!
You now have everything you need for a smooth Musselburgh Hat cast on using dpns. We can’t wait to see what you make! Post photos or questions in the comments below, or tag @CraftingInspirations on social media. Happy knitting!