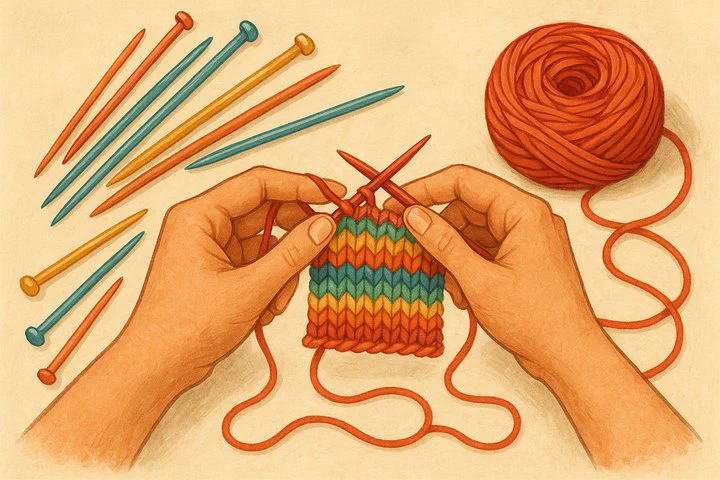
Knitting Gauge Swatch Confusion

Understanding Gauge Swatches
Have you ever finished a hat or sweater only to find it’s way too big or much too small? You’re not alone—many makers run into knitting gauge swatch confusion. The good news? A little square of fabric called a gauge swatch can save the day.
Jamie’s quick story: When I first learned brioche, my “one-size-fits-all” beanie could have fit two heads! I skipped the swatch. Now I always test first and my projects fit every time.
Why a Gauge Swatch Matters
Yarn stretches, needles vary, and each knitter holds yarn a bit tighter or looser. A gauge swatch tells you how your yarn, needles, and hands work together. It shows the gauge for the pattern so your final piece turns out the right size.
How to Measure a Gauge Swatch (Step by Step)
- Cast on enough stitches to make a square at least 4 inches wide. Add 4 extra edge stitches so the sides stay flat.
- Knit in the same stitch pattern the project uses. Work until the piece measures about 5 inches tall.
- Bind off loosely, wash, and dry the swatch the same way you will treat the finished item.
- Lay the swatch flat on a table. Place a ruler in the center—not at the edges where stitches curl.
- Count how many full stitches and rows fit inside 4 inches. Write those numbers down. That’s the gauge for the pattern you need to match.
If your swatch has too many stitches in 4 inches, your stitches are small—try a larger needle.
If it has too few stitches, your stitches are big—use a smaller needle. Keep testing until you reach the correct gauge when knitting. This small step saves hours of ripping later.
Tips for Brioche Swatches
Brioche is thick, bouncy, and very stretchy, which can increase knitting gauge swatch confusion. Use these tips for fast success and extra help with brioche swatch questions.
- Cast on wider. Add at least 2 extra edge stitches on each side to stop curling.
- Knit a bigger swatch. Work 5 inches tall so the ribs can relax.
- Block before measuring. Brioche opens up after washing. Measure only after the swatch is dry.
- Adjust needle size. If the blocked swatch shows more stitches than the pattern calls for, move up a needle size. Fewer stitches? Move down.
- Count the V’s. Look for the tall “V” columns, not the hidden purl bumps.
If your stitch gauge is right but the row gauge is off, keep your current needle and simply add or skip rows in the project. When in doubt, try knitting a different number of stitches in your next swatch to see how the fabric behaves across a wider field.
Achieving the Correct Gauge
Follow this simple checklist each time you start a new project:
- Read the pattern. Note the target gauge, for example “18 sts and 24 rows = 4 in.”
- Knit and block your swatch. Use the same yarn and needles.
- Measure carefully. Does your swatch match the gauge for the pattern?
• Yes? Cast on your project and enjoy!
• No? Change one thing (needle size, yarn, or tension) and swatch again. - Track your tests. Keep a notebook. Record yarn name, needle size, stitch count, row count, and how it felt. This diary will guide future projects and end knitting gauge swatch confusion for good.
Share and Learn Together
Have a swatch success—or a funny mis-sized sweater story? Post a photo in the comments or join one of our friendly subreddits like r/knittinghelp or r/CrochetBlankets. Your tips might be exactly what another crafter needs.
Remember, a tiny square of fabric can make or break your project. Take the time to swatch, measure, and adjust. You’ll knit with confidence, and every piece will fit just right. Happy crafting!