How to Fix Gaps in Beading
How to Fix Gaps in Beading
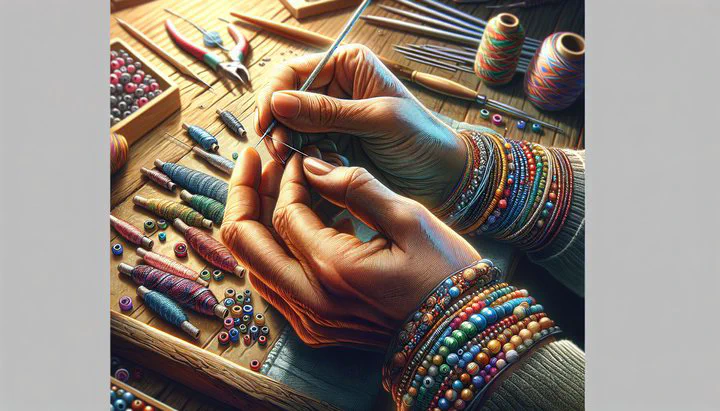
Beading is a fun and creative way to make beautiful jewelry and decorations. But sometimes, those pesky gaps show up and can spoil the look. Don’t worry! This guide will help you understand why gaps happen and how you can fix them. Whether you’re a beginner or an expert, you’ll find helpful tips to keep your beading projects looking perfect.
Understanding Why Gaps Occur
Have you ever wondered why there are gaps in your beading? Knowing the reasons can help you fix them. Here are some common causes:
-
Inconsistent Tension: Think of your beading thread like a rubber band. If you pull it too tight in some spots and too loose in others, your beads won’t line up right. Keeping the tension steady is key to preventing gaps.
-
Mismatched Bead Sizes: Not all beads are the same size. If you mix big and small beads without planning, the smaller ones can shift and leave gaps. Always check bead sizes before you start and use a bead board to plan your design.
-
Mistakes in Pattern: Sometimes, skipping a bead or adding an extra one by mistake can create gaps. Double-check your work as you go and pay attention to patterns and colors. If you see something wrong, don’t be afraid to fix it.
Techniques to Prevent Bead Gaps
Now, let’s learn how to stop those gaps from happening in the first place!
-
Practice Consistent Tension: Try the tension on the leaf method. Hold your beading thread like a leaf in the breeze—firm, but not tight. Practicing this can help keep your beads snug.
-
Choose the Right Beads and Methods: Some bead shapes and sizes can cause spaces. Mix and match thoughtfully, and consider using flexible wire instead of thread for more support. This helps avoid gaps leftover in your design.
-
Monitor Your Work: Every few rows, step back and look at your project. If you see a gap, adjust your beads or thread right away. This proactive approach saves time and frustration later.
Remember, practice makes perfect! The more you bead, the better you’ll get at keeping tension and avoiding gaps. Don’t be discouraged if it takes time.
Rescuing and Repairing Beaded Pieces
Sometimes, things don’t go as planned. But you can still save your project!
-
Rescue All the Beads: If your piece is damaged, carefully cut the thread with a seam ripper or small scissors to remove the beads. Be gentle to avoid breaking them.
-
Sort Your Beads: Wondering how best to sort 100+ lbs of beads? Use trays or small containers to group them by color, size, or material. This makes it easier to reuse them.
-
Fix the Gaps: Look at the section with gaps. Remove any misplaced beads and restring, keeping an eye on your tension. Try the tension on the leaf technique to help your beads fit snugly.
-
Experiment with Different Materials: If a section is tricky, try different stringing materials or patterns. Sometimes, a small change can make a big difference.
Every crafter makes mistakes, and that’s okay! Each project is a chance to learn and improve. By following these steps, you’ll master how to fix gaps in beading and create stunning pieces that look just right.
Conclusion
Fixing gaps in beading can seem tricky, but with a little practice and patience, you’ll get the hang of it. Remember to keep your tension steady, plan your bead sizes, and check your work as you go. Each project is a learning opportunity, and as you practice, you’ll get better and better. So have fun experimenting and enjoy the process of creating beautiful, gap-free beading projects!