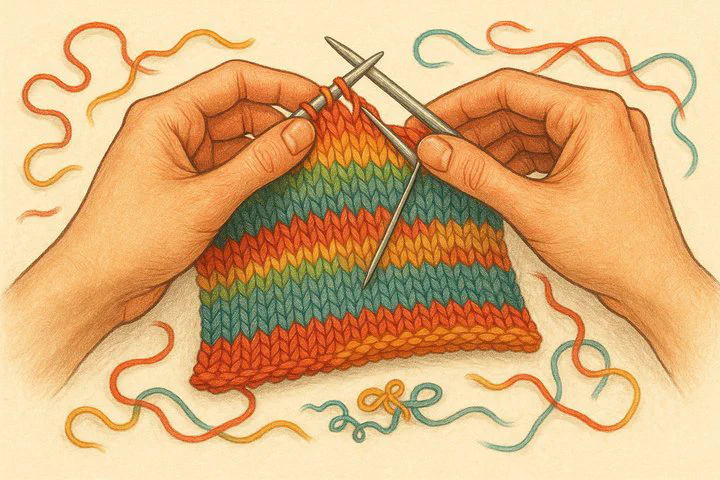
How to Adjust for Having Too Many Stitches
How to Adjust for Having Too Many Stitches
by Jamie Filmore, Crafting Inspirations
Understanding Gauge and Why It Matters
Gauge tells you how many stitches and rows fit into a 4-inch square. If your stitches are too tight, the project shrinks. Too loose, and it grows. Checking gauge before you dive in saves yarn and stress.
Quick way to check:
- Knit a small test square (a swatch) with the yarn and needles your pattern lists.
- Lay it flat.
- Place a ruler across the middle and count stitches in four inches.
- Do the same for rows.
Write down your numbers. If you see more stitches than the pattern asks for, you’ve run into the trouble of extra fabric. This is the moment to learn how to adjust for having too many stitches. I once knit a hat that slipped over my eyes because I skipped this step—lesson learned!
Many new knitters say, “Everything I’ve read tells me I should size up needles to compensate,” yet they’re still worried about not hitting gauge and unsure how to adjust. Don’t panic. You have several friendly fixes ahead.
Adjusting Needle Size and Other Easy Fixes
-
Size-Up Test
• Go up one needle size and knit a fresh swatch.
• Count again. If the stitch count matches, celebrate! -
Half-Size or Material Swap
• Try a half-size needle if your brand makes one.
• Use metal needles for looser stitches or bamboo for tighter ones. A tiny change can shift gauge.
• Tip: Don’t be afraid to experiment with what you already own. -
If a Bigger Needle Isn’t Enough
You may wonder, “If I can’t size up needles, how does one adjust for having too many stitches?” Try these:
• Switch to a slightly thicker yarn.
• Drop one repeat of the stitch pattern if the design allows.
• Cast on fewer stitches and mark the changes so you stay on track.
Keep knitting small swatches after each tweak. Testing first lets you practice how to adjust for having too many stitches without ripping back rows of real work.
Step-by-Step Guide for Quick Fixes
Follow these simple steps when you notice extra stitches on your live project.
Step 1: Pause and Measure
• Lay the piece flat and count stitches across four inches.
• If the number grew, your tension loosened. Try holding the yarn a bit tighter or switch to a shorter needle cable to pull stitches closer.
[Visual Idea: Photo of ruler on swatch]
Step 2: Trim the Stitch Count
• Need to lose four stitches? Place markers and knit two stitches together right after each marker on the next row.
• In textured work, replace a wide stitch (like a yarn-over) with a plain knit.
• Small, even changes keep the pattern looking neat.
Step 3: Block Smart
• Lightly mist the fabric, pin it to the correct size, and let it dry. Blocking alone can rescue a piece that screams, “I can’t hit gauge and I’m unsure how to adjust!”
[Visual Idea: Diagram of blocking board with pins]
Step 4: Track Your Tweaks
• Jot down every change—needle swaps, decreases, blocking size, and final gauge. Next time you face the same issue, your notes will guide you.
Remember, every great knitter started where you are now. Don’t worry if it’s not perfect the first time. Each try brings you closer to mastering how to adjust for having too many stitches.
You’ve Got This!
By testing, tweaking, and tracking, you can conquer any gauge problem. Share your own tips or photos of your fixes with our community. I love seeing how these small tweaks transform a project, and I hope you do too!
Happy crafting,
Jamie Filmore