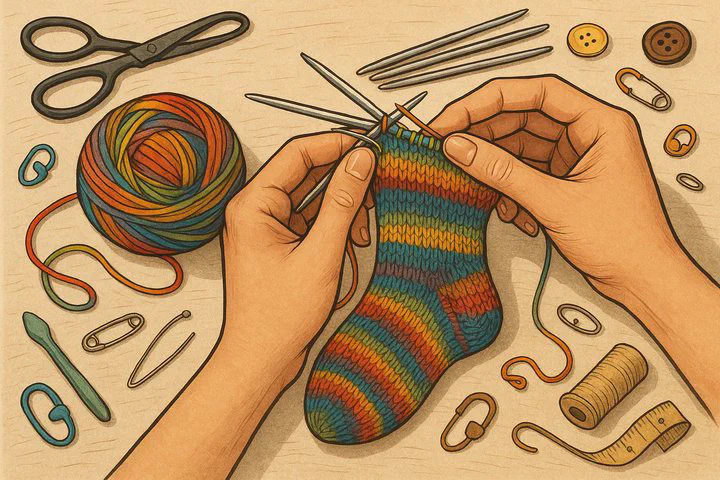
Help with Toe-Up Sock Knitting Pattern

Help with Toe-Up Sock Knitting Pattern
Have you ever picked up a toe-up sock project and thought, “I need help with toe-up sock knitting pattern instructions”? You’re not alone! This guide will walk you through every step in friendly, easy words. By the end, you’ll slip on a cozy pair of socks you made yourself and feel proud.
Why Knit Toe-Up?
Toe-up socks have three big perks:
- Try them on as you knit, so you get the right fit.
- Use every bit of yarn—no tiny leftovers.
- Fix mistakes early, before you knit a whole leg.
Supplies You’ll Need
• Fingering-weight yarn
• One 32–40" circular needle for magic loop
• Stitch markers
• Tapestry needle for weaving ends
Many knitters follow the KnitPicks “Two at a time, toe up, magic loop socks.” pattern. We’ll use it for examples, but any toe-up pattern works with these tips.
Step 1: Cast On and Shape the Toe
- Start with Judy’s Magic Cast-On (8–12 stitches on each needle).
- Knit one round plain.
- Increase one stitch at each edge every other round.
- Stop once toe section is just barely wide enough to cover toes.
- Slip stitches to scrap yarn, try the sock on, and smile—you’re on track!
Need quick help with toe-up sock knitting pattern math? Count after each increase round so the two socks stay even.
Step 2: Reading the Pattern Without Stress
Ever whisper, “Help deciphering Toe-Up Sock Pattern?” Try this:
• Print the pages and grab highlighters.
• Circle every number for your size.
• Make a short list of puzzling words (M1L, ssk).
• Tick off rounds as you finish them.
These simple moves keep your place and give steady help with toe-up sock knitting pattern progress checks.
Tip: In the KnitPicks sheet, two counts sit side by side (one for each sock). Mark one in blue and one in green so your eyes don’t mix them up.
Step 3: Knit the Foot
• Work plain rounds until the foot is about 2" shorter than the whole foot length.
• Keep sliding the sock on now and then. It should hug but not squeeze.
• If you spot a hole or wrong stitch, fix it right away—small fixes now save big fixes later.
Step 4: When to Start the Heel Flap
You might ask, “How far do I knit before starting the padded heel flap?”
Answer: Knit until the fabric reaches the front of your ankle bone (about 2" short of full foot length). A quick try-on tells you when to stop.
Step 5: Knit the Padded Heel Flap
Numbered steps make life easy:
- Work only the heel stitches; rest stay on hold.
- Row 1 (Right Side): Slip 1, knit 1 across.
- Row 2 (Wrong Side): Slip 1, purl 1 across.
- Repeat Rows 1–2 until the flap is as tall as it is wide (around 2").
These rows build a strong cushion. Good news—if it feels thin, add two more repeats.
Step 6: Turn the Heel
- Knit to center, k2tog, k1, turn.
- Slip 1, purl to center, p2tog, p1, turn.
- Repeat, adding one extra stitch each turn, until no gaps remain.
Take it slow. A small sticky note under the working row keeps you focused.
Step 7: Gusset and Leg
• Pick up one stitch in every slipped edge along the flap.
• Knit in rounds again.
• Decrease one stitch on each side every other round until you’re back to the original foot count.
• Knit the leg as long as you like—plain or fancy.
Remember to stretch the sock over your heel now and then. If it feels tight, loosen your next round a bit.
Step 8: Bind Off
Use a stretchy bind-off, such as Jeny’s Surprisingly Stretchy Bind-Off. The cuff should glide over your heel without effort.
Extra Tips for Success
• Keep a small notebook for row counts.
• Snap phone photos of tricky parts; future you will thank past you.
• Sketch simple diagrams, or look for free heel-turn videos online—pictures help!
Need more visual cues? A quick internet search will show diagrams for each step. Seeing the stitches move can be the best help with toe-up sock knitting pattern boost of all.
You Did It!
You started at the tip, tackled the heel, and finished with a comfy cuff. If bumps popped up, that’s normal—every crafter learns by doing. Show off your new socks in our comments or on your favorite crafting forum. Got more questions? Drop them below, and the community will cheer you on.
Happy knitting, and thanks for letting Crafting Inspirations guide you today!