How to Heat Set Fabric Paint
Welcome to the World of Fabric Painting!
Hello, crafty friends! Are you ready to make your fabric painting projects last longer and look brighter? In this guide, we’ll explore the magic of heat setting fabric paint. Whether you’re painting a t-shirt or creating a masterpiece on a tote bag, learning how to heat set your paint will keep your designs vibrant and durable. Let’s dive into all the steps and tips you’ll need for success!
Why Heat Setting is Important
When you’re painting on fabric, you want your artwork to last. That’s where heat setting fabric paint comes in. This step is super important because it helps the paint bond properly to the fabric. If you skip this step, you might find your beautiful designs cracking or fading after just a few washes. We don’t want that, do we?
Think of heat setting as a way to lock in the colors. When you apply heat, it helps the paint stick to the fibers of the fabric. This process ensures that your design becomes a part of the fabric, making it washable and durable. Without heat setting, your paint might just sit on top of the fabric. Over time, it can peel or wash away, leaving your masterpiece looking less than perfect.
Imagine you spent hours painting a vibrant design on a t-shirt. You wash it, and suddenly the colors aren’t as bright, or worse, they’re cracking! That’s because the paint wasn’t properly heat set. By taking the time to heat set, you make sure your designs stay vibrant and intact, no matter how often you wear or wash them. So, whether you’re a beginner or a seasoned crafter, remember that heat setting fabric paint is a crucial step to keeping your projects looking their best.
Easy Ways to Lock in Your Fabric Paint
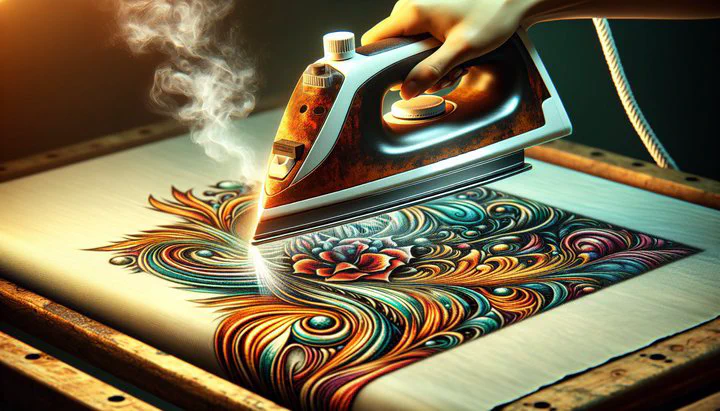
There are a few ways to heat set fabric paint, and choosing the right method can make a big difference in how your project turns out. Let’s start with the most common method: heat with an iron. This technique is simple and something you can do at home with a regular iron. First, make sure your paint is completely dry. Then, set your iron to the appropriate temperature for your fabric type, usually a medium setting. Place a piece of parchment paper or a clean cloth over your painted design to protect it. Gently press the iron over the area, keeping it moving to avoid scorching. Do this for about 3-5 minutes, and your design should be set!
For those looking to try something different, consider the airbrush using fabric paints method. This technique combines the painting and heat setting steps. After applying the paint with an airbrush, you can use a heat gun to set the paint. Hold the heat gun a few inches away from the fabric and move it back and forth evenly over the painted area. Be careful not to hold the heat gun too close, as this can damage the fabric. This method gives you greater control over the heat application and can be especially useful for larger projects.
No matter which method you choose, safety is key. Always work in a well-ventilated area and use protective gear like an apron or gloves if needed. Also, remember that some fabrics might be more sensitive to heat, so always check the fabric’s care label before starting the drying/heat setting process. By following these steps, you’ll ensure your fabric paints are set properly and your designs will look vibrant and last a long time.
Curing and Drying Process
When you’re working with fabric paints, it’s easy to mix up drying and curing. But they aren’t the same! Drying is when the paint is no longer wet to the touch, but curing is the process that makes sure the paint is fully bonded to the fabric. Think of curing as the time it takes for the paint to become a permanent part of the fabric, so it won’t wash out or fade.
The curing process for fabric paint is crucial. After you’ve gone through the heat setting fabric paint step, the paint still needs time to fully cure. This usually takes about 24 to 72 hours, depending on the brand of paint and the fabric type. During this time, keep your fabric in a dry place and avoid washing it. You want to give the paint the best chance to bond with the fabric fibers.
Sometimes, you might notice issues like the paint feeling sticky or not looking as bright as you’d hoped. This could be because the paint hasn’t cured properly. Make sure you follow the instructions on your paint bottle closely. If you rush the drying/heat setting process, you might end up with paint that doesn’t last. Patience is key!
Remember, good things come to those who wait. By allowing enough time for the curing process, you’ll ensure that your artwork stays vibrant and beautiful. If you’re ever unsure, a little extra time won’t hurt. Just think of it as giving your masterpiece the best chance to shine for years to come.
Tips for Successful Fabric Painting
Ready to dive into your next fabric painting project? Here are some handy tips to help you achieve the best results. First things first: choosing the right fabric is super important. Natural fibers like cotton or linen work best because they absorb paint well. Synthetic fabrics might not hold the paint as effectively, leading to issues with bonding during the curing process for fabric paint.
Next, let’s talk about paint selection. Make sure you’re using fabric-specific paints. These are specially designed to adhere well and survive washing. If you’re experimenting with colors, mix small batches first to see how they look on a test piece of fabric. Remember, colors might dry differently than they look when wet, so testing is always a good idea.
Before you start painting, prepare your fabric. Wash and dry it to remove any sizing or chemicals that might interfere with the paint sticking. Iron out any wrinkles, as a smooth surface helps in the drying/heat setting process. If you want to create precise designs, use stencils or masking tape to outline areas.
Feel free to get creative with your designs! Try layering colors or using different tools like sponges or brushes for unique effects. Just remember, after you finish painting, you’ll need to heat set fabric paint to lock in those vibrant colors. Whether you use an iron or decide to airbrush using fabric paints, ensure you follow the right steps to keep your artwork looking sharp.
Finally, don’t be afraid to experiment and try new techniques. Crafting is all about exploring and having fun. With a little patience and practice, you’ll create beautiful, lasting designs. So go ahead, unleash your creativity, and enjoy the process!
Wrapping it Up: Your Fabric Painting Adventure Begins!
Now that you’re equipped with all the knowledge you need, it’s time to start your fabric painting journey. Remember, the key to beautiful, long-lasting designs is in the heat setting fabric paint step. Whether you’re ironing or airbrushing, take your time and enjoy the creative process. We can’t wait to see what you create, so be sure to share your projects with our crafting community. Happy painting!