Front Loops in Knitting
Front Loops in Knitting
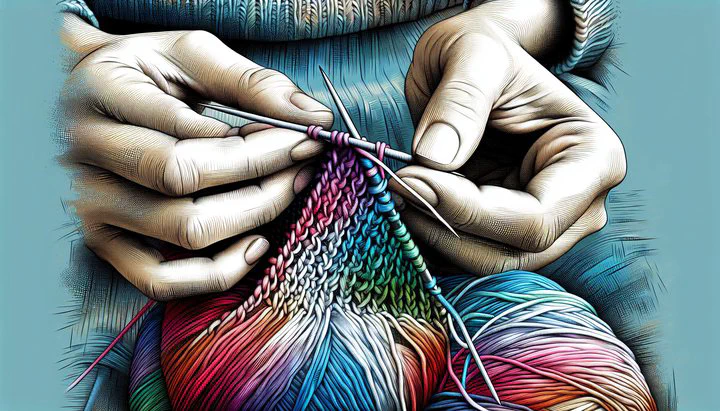
Have you ever admired the raised designs in knitting and wondered how to create them? The secret lies in mastering front loops! Welcome to the wonderful world of knitting, where we’re diving into the concept of front loops—an essential technique for creating unique textures and patterns in your projects. If you’ve ever wondered how some knitters achieve those beautiful raised designs, you’re in the right place!
So, what exactly are front loops? In knitting, every stitch has a front and a back loop. The front loop is the part of the stitch that is closer to you as you work. When you knit through the front loop, you’re inserting your needle through this front part of the stitch. If you’re struggling to add texture to your projects, learning to knit through the front loop can make all the difference. This simple action can change the look and feel of your project, adding texture and dimension to the fabric.
Why would you want to knit through the front loop? This technique is perfect for adding a bit of flair to your creations. Knitting through the front loop can create a tighter, more defined stitch, giving your fabric a neater appearance. It’s often used in techniques like the k1 + p1tbl and in patterns that require a bit of extra texture.
You might choose to use front loops in your knitting when you’re looking to create decorative elements or when patterns specifically call for it. For instance, in 1x1 twisted rib stitches, the front loop plays a crucial role in giving your ribbing a twisted look. Plus, this technique is a favorite in projects that need a crisp, clean finish.
By understanding and mastering front loops, you’re opening up a world of possibilities in your knitting. Whether you’re a beginner just starting out or a seasoned crafter looking to try something new, incorporating front loops into your projects is a fantastic way to enhance your skills and add a personal touch to your creations. Happy knitting!
Knitting Techniques Using Front Loops
Now that you know about front loops in knitting, let’s explore some exciting techniques that make the most of this method. These techniques will help you add texture and style to your projects, making them stand out with unique patterns.
First, let’s talk about the k1 + p1tbl technique. This involves knitting one stitch and then purling one through the back loop. This combination uses front loops to create a beautiful texture. When you knit the stitch, you go through the front loop, which helps keep the fabric tight and neat. Then, when you purl through the back loop, it adds a twist to the stitch. This technique is great for projects where you want a pronounced pattern or a bit of extra flair.
Another technique that relies on front loops is the alternating cable cast on. This method is perfect when you need a stretchy and flexible edge, making it ideal for hats or cuffs. To do this, you start by casting on your first stitch as usual. For the next stitch, you insert your needle into the front loop of the previous stitch, creating a neat and tidy edge. This method not only strengthens the edge but also gives it a beautiful, professional finish.
Why not give these techniques a try? Grab your needles and see the difference using front loops can make! To practice these techniques at home, start with some simple swatches. For the k1 + p1tbl, cast on an even number of stitches. Begin with a knit stitch through the front loop, then purl the next stitch through the back loop. Repeat this across your row. For the alternating cable cast on, cast on the first stitch normally, then insert the needle into the front loop of the last cast-on stitch for the next one. Continue alternating to create a firm but stretchy edge.
By mastering these techniques, you’ll be able to add delightful details to any knitted project. Whether you want to create a textured scarf or a hat with a beautifully finished edge, using front loops in these methods will elevate your knitting to the next level. Keep experimenting with these stitches, and watch your knitting projects come to life with texture and style!
Enhancing Your Projects with Twisted Rib Stitches
Ready to take your knitting to the next level? Let’s dive into the 1x1 twisted rib stitch, a technique that uses front loops to create a stunning ribbed texture. This stitch is perfect for adding a touch of elegance and sophistication to your projects.
The 1x1 twisted rib stitch looks fancy but is easy to do. Just knit one stitch through the back loop and purl the next stitch as usual. This gives your ribbing a cool twist! This technique adds depth and style, making it ideal for cuffs, borders, and other details where you want that extra pop.
To try the 1x1 twisted rib stitch, start by casting on an even number of stitches. On your first row, knit one stitch through the back loop, which twists the knit stitch. Then, purl one stitch as usual. Continue this pattern across the row. On the next row, repeat the process: knit through the back loop and purl the next stitch. This technique might feel a bit different at first, but with practice, you’ll master it in no time.
One tip for achieving the perfect 1x1 twisted rib stitch is to size down on the knitting needles. Using smaller needles can make your ribbing tighter and more pronounced, giving it a neat, tailored finish. This is especially useful if you want your ribbing to hold its shape and not become too loose or floppy over time.
By incorporating the 1x1 twisted rib stitch into your knitting projects, you’re adding a versatile and eye-catching element. Whether you’re working on a cozy sweater or a stylish hat, this technique will enhance your work and impress anyone who sees it. Check out our step-by-step images to see exactly how to work with front loops and achieve these textured effects.
We’d love to see your creations! Share your projects using front loops in our community and inspire others. Happy knitting!