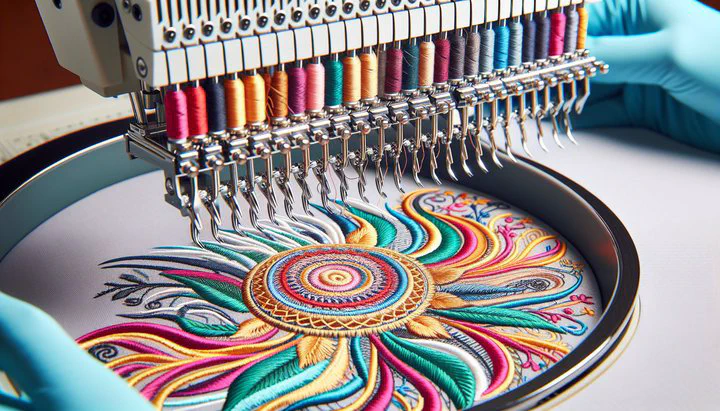
Embroidery Machine Wrong Stitch Position

Understanding Misaligned Embroidery
Have you ever been excited to start an embroidery project, only to see your stitches land in the wrong spot? It can be really frustrating when your embroidery machine stitches in the wrong position, especially after you’ve spent time setting everything up. Let’s dive into some reasons this might happen and how you can prevent it from ruining your beautiful designs.
One common cause of misaligned embroidery is when the hoop is in the wrong place. If the fabric isn’t hooped correctly, the design might not stitch where you expect it to. It’s important to ensure the fabric is tight and centered in the hoop. If it’s too loose or off-center, your embroidery might drift to the wrong spot, leading to uneven results.
Another important factor is the calibration of your embroidery machine. Calibration means setting up your machine so it knows exactly where to stitch every time. Machines can sometimes lose their alignment, which means they might not stitch where they’re supposed to. Regularly checking and recalibrating your machine can help keep your stitches on track. This step ensures that when you press start, the needle knows exactly where to go.
Sometimes, the problem can also be due to fabric movement. If your fabric shifts or moves around while stitching, your design can end up in a completely different place than you planned. Using the right stabilizer can help keep your fabric stable. Additionally, design errors or incorrect stitch numbers can lead to embroidery at the wrong place. Always double-check your design settings before you begin, ensuring that everything is set up correctly for your project.
Understanding these common issues will help you tackle any misalignment problems head-on. By paying attention to hoop placement and machine calibration, and ensuring your fabric is secure, you can achieve beautifully aligned embroidery every time.
How to Correct and Avoid Stitching Mistakes
If you find that your embroidery machine stitches in the wrong position, don’t worry—there are ways to fix it and prevent it from happening again. Let’s go through some steps to help you correct these mistakes and keep your projects perfect.
-
Check your hoop placement. Make sure your fabric is tightly secured and centered in the hoop. If it’s not, gently adjust it. Loosely hooped fabric can shift, causing your design to stitch incorrectly. Always double-check that the fabric is taut and aligned before you start embroidering.
-
Recalibrate and start again. Recalibration involves resetting your embroidery machine so that it knows exactly where to place each stitch. Most machines have an easy menu option for this. Follow your machine’s manual to recalibrate and ensure everything is set correctly.
-
Verify the correct stitch number. Sometimes, using the wrong stitch number can lead to designs appearing in unexpected places. Before starting your project, verify that the stitch number matches your design plan. This simple step can prevent a lot of frustration.
It’s always a good idea to test your design on a piece of scrap fabric before working on your main project. This allows you to see if everything is aligning as it should and gives you a chance to make any necessary adjustments. Testing first helps you avoid surprises and ensures your final project turns out just right.
By following these steps, you can correct and avoid stitching mistakes, making sure your embroidery projects are always on point!
Tips for Consistently Perfect Embroidery
Want to make sure your embroidery projects always turn out beautifully? Here are some tips to keep your stitching perfect every time!
Start with regular machine maintenance. Just like a car, your embroidery machine needs care to run smoothly. Clean it regularly, change the needles when they get dull, and check for any loose parts. A well-maintained machine is less likely to stitch in the wrong position, helping you avoid problems like the embroidery machine stitching in the wrong position.
Proper hooping techniques are essential for success. Make sure the fabric is smooth and taut in the hoop without being stretched. If the hoop is in the wrong place, your design can end up off-center. Practice getting the fabric perfectly hooped to ensure the design stays right where you want it.
Choosing the right stabilizer for your fabric is also crucial. Stabilizers prevent the fabric from shifting, which can lead to embroidery at the wrong place. Different fabrics need different stabilizers, so take the time to match them properly. A good stabilizer keeps your fabric steady, ensuring the stitches land just right.
Don’t forget to practice and test your designs. Use scrap fabric to try out new patterns. This gives you a chance to see if everything looks correct before you start on your actual project. Testing helps you catch any issues early, allowing you to recalibrate and start again if needed.
Remember, practice makes perfect! The more you test and try out different designs, the better you’ll get at avoiding mistakes. By following these tips, you can prevent errors and achieve perfect embroidery every time. With a little practice and attention to detail, you’ll be creating stunning designs that look just the way you imagined.
With these tips and a little practice, you’ll be creating stunning embroidery projects in no time. Keep experimenting and let your creativity shine!