Dyeing Wigs with Alcohol Markers
Dyeing Wigs with Alcohol Markers
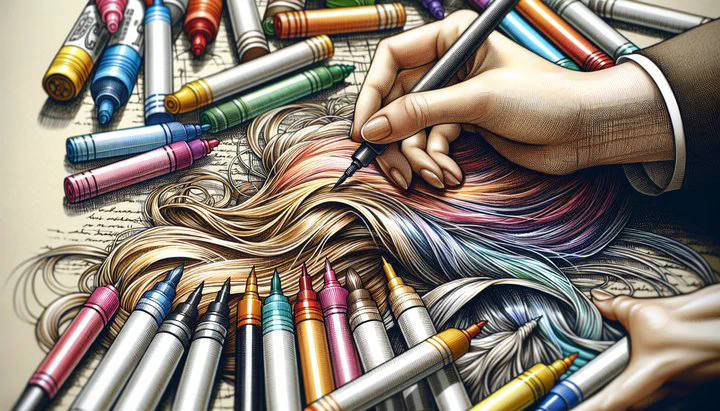
Have you ever thought about changing the color of a wig to match your creative vision? Dyeing wigs with alcohol markers is an exciting and popular method among crafters and cosplayers. This technique lets you transform synthetic wigs into vibrant, custom pieces without breaking the bank. But what exactly are alcohol markers, and why are they so favored in the crafting community? In this article, you’ll learn how to use alcohol markers to dye wigs, see creative examples, and pick up troubleshooting tips for the best results.
Introduction to Dyeing Wigs with Alcohol Markers
Alcohol markers, like Sharpies and Copics, are tools filled with alcohol-based ink. They’re loved by artists for their bold colors and smooth application. When used to dye wigs, these markers offer a fun and creative way to add personal flair. The process of using alcohol markers to dye a wig is both cost-effective and customizable. You can choose from a rainbow of colors and create unique designs that truly reflect your style.
Not all wigs are created equal, though. The best results occur when using synthetic wigs, especially those made from fibers like kanekalon. These fibers absorb the alcohol ink well, allowing for vibrant and lasting colors. With alcohol markers, you can achieve anything from subtle highlights to bold, full-color transformations. Whether you’re creating a character for cosplay or just want a fresh look for a costume party, dyeing wigs with alcohol markers opens up a world of possibilities.
Step-by-Step Guide to Dyeing Wigs with Alcohol Markers
Are you ready to start your colorful wig transformation? Let’s walk through a step-by-step guide on how to do this using alcohol markers. Gather your materials and let’s begin!
Materials Needed
- Alcohol markers (like Sharpies or Copics)
- Rubbing alcohol (at least 70% isopropyl alcohol)
- A small spray bottle or bowl
- A paintbrush or toothbrush for blending
- Disposable gloves to protect your hands
- Protective coverings like newspaper or plastic sheets for your workspace
- A synthetic wig, preferably made from kanekalon fibers
Preparing Your Wig
- Clean the Wig: Wash and detangle your wig using a mild shampoo and conditioner. Let it air dry completely to ensure the alcohol ink adheres evenly.
- Secure and Protect: Place your wig on a wig stand or mannequin head. Cover your workspace with newspaper or plastic sheets to catch any drips or spills.
Applying the Dye
- Mix the Ink: If you’re using a Sharpie to paint a wig and then use rubbing alcohol, remove the ink tube from the marker. Mix the ink with a small amount of rubbing alcohol in a spray bottle or bowl. The alcohol helps the ink spread evenly on the fibers.
- Spray or Brush: Spray the diluted ink onto the wig for a lighter effect, or use a paintbrush to apply it directly for more control. Many people brushing alcohol ink on the wig prefer the latter method for detailed designs.
- Blend and Set: Use your paintbrush or toothbrush to blend the colors smoothly. Clean your brush between uses to avoid muddying your colors.
- Dry and Set: Let the wig dry completely. This can take several hours, depending on the thickness and length of the wig. Once dry, the color will be set!
By using alcohol markers to dye a wig, you can achieve beautiful and unique results. Remember to work in a well-ventilated area and have fun with the process.
Creative Ideas and Examples
Now that you know how to dye wigs with alcohol markers, let’s explore some creative ideas and examples to inspire your next project. Whether you’re aiming for a bold transformation or subtle accents, the possibilities are endless!
- Vibrant Rainbow Wigs: Create a rainbow effect by using multiple colors of alcohol markers. Dye sections of the wig in different shades to add a splash of color to any cosplay or festival look.
- Ombre Effects: Achieve stylish ombre wigs by choosing two or three colors that transition well together. This technique gives the wig a natural and professional appearance.
- Fantasy and Character Designs: Use alcohol markers to dye a wig for specific characters or fantasy themes. Let your imagination guide you and create a wig that matches your storytelling vision.
To fuel your creativity, check out examples of using alcohol markers (like Copics) to dye a wig in online crafting communities. Share your creations online using hashtags to join the conversation.
Troubleshooting and Tips
Even with the best preparation, you might encounter some challenges when dyeing wigs with alcohol markers. Here are some tips to help you tackle common issues and get the best results for your wig projects.
Common Problems and Solutions
- Uneven Color: Ensure your wig is clean and dry before starting. Mix your ink thoroughly and apply it evenly. Layer colors to even out any spots.
- Color Bleeding: Use a small amount of rubbing alcohol to avoid bleeding. If bleeding occurs, use a dry brush to blend the colors back into place.
- Fading Colors: Let the wig dry completely in a well-ventilated area. If fading occurs, consider applying another light layer of ink.
Tips for Success
- Choose the Right Markers: High-quality alcohol markers like Copics or Sharpies provide vibrant colors and are easy to work with.
- Test Before You Commit: Test your color mix on a small, hidden section of the wig.
- Blend with Care: Use a soft brush to blend colors and avoid harsh lines.
- Experiment and Share: Try new techniques and share your results with the crafting community.
With these troubleshooting tips and a bit of patience, you’ll achieve beautiful results when using alcohol markers to dye a wig. Remember, crafting is about creativity and exploration. Enjoy the process, learn from any hiccups along the way, and most importantly, have fun with your wig dyeing adventures!
Call to Action
We’d love to hear about your experiences with dyeing wigs using alcohol markers. Share your journey and questions in the comments below, and don’t forget to subscribe to our newsletter for more crafting tips and inspiration!